
Table of Contents
ToggleBlank walls are missed opportunities. A thoughtfully designed family wall display turns empty space into a visual narrative, a collection of moments, milestones, and personalities that make a house feel lived-in and loved. Whether it’s a hallway gallery of framed photos, a statement canvas in the living room, or a DIY installation made from reclaimed materials, family wall decor anchors a room and gives visitors an instant sense of who lives there. The best part? Most of these projects don’t require advanced carpentry skills or expensive tools, just careful planning, proper hanging technique, and a willingness to measure twice.
Key Takeaways
- Family wall decor transforms blank walls into personalized focal points that reflect your home’s identity and create an emotional sense of belonging.
- Choose high-visibility areas like walls facing the front door or above sofas, and ensure proper wall structure by locating studs before hanging anything over 15 pounds.
- Gallery walls thrive on visual rhythm—stick to one frame color family and 2–3 inch spacing, with the arrangement centered at 57–60 inches from the floor for optimal eye level.
- Large canvas prints and custom family portraits offer a modern alternative that simplifies installation while making a bold design statement.
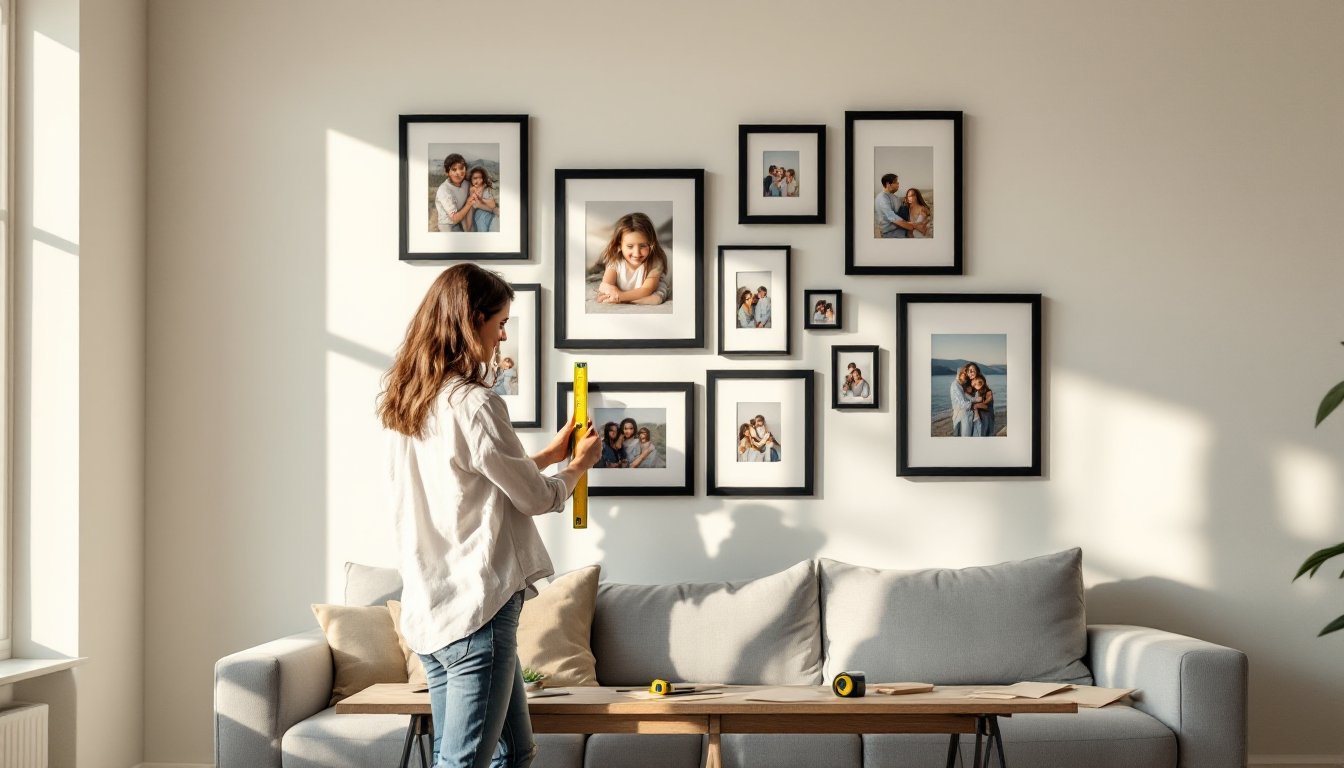
- Master the professional hanging technique by measuring twice, starting from the center piece outward, and using a laser level to ensure alignment across multiple frames.
- DIY family wall decor projects range from beginner painted name boards to advanced floating frame shelves, making this design choice accessible for every skill level and budget.
Why Family Wall Decor Matters in Your Home
Family wall decor does more than fill space. It personalizes a room in ways that off-the-shelf art can’t, creating focal points that reflect the people who actually live there. A well-curated family display can tie together mismatched furniture, establish a color palette for the room, and even improve perceived room proportions by drawing the eye upward or horizontally.
From a practical standpoint, family displays also offer flexibility. Unlike built-in shelving or permanent wallpaper, framed photos and canvas prints can be swapped out as kids grow, interests change, or new memories accumulate. This adaptability makes family wall decor one of the most forgiving design choices for homeowners who like to refresh their spaces without major renovations.
There’s also a psychological component. Studies on environmental psychology suggest that personalized spaces reduce stress and increase feelings of comfort. When a room includes visual reminders of family connections, it reinforces a sense of belonging, something especially valuable in open-concept homes where distinct “zones” can feel impersonal.
Choosing the Right Wall for Your Family Display
Not every wall is a good candidate. Start by identifying high-visibility areas where the display will be seen daily: the wall facing the front door, the space above a sofa, a stairwell, or a long hallway. Avoid walls with competing elements like large windows, busy wallpaper, or heavy furniture that will crowd the display.
Wall structure matters. If you’re hanging multiple frames or a heavy canvas (anything over 15 pounds), locate the studs using a stud finder. Standard interior walls have 16-inch on-center stud spacing, though older homes may use 24-inch spacing. For drywall-only anchors, use ribbed plastic anchors rated for at least 50 pounds for medium frames, or toggle bolts for heavier pieces. Never trust adhesive strips alone for anything you can’t afford to have fall.
Consider lighting, both natural and artificial. South- or west-facing walls get intense afternoon sun, which can fade prints over time. If that’s your only option, use UV-protective glass or acrylic in frames, or position the display slightly off the direct light path. For evening visibility, add picture lights or adjustable track lighting, this also adds depth and drama to the arrangement.
Measure the wall’s usable width and height. A common mistake is centering a small grouping on a large wall, leaving awkward gaps. As a rule, the display should occupy roughly two-thirds of the furniture width below it (if anchoring above a sofa or console), or span at least 60% of a blank wall to avoid looking lost.
Popular Family Wall Decor Ideas to Inspire Your Design
Gallery Walls: Creating a Cohesive Family Photo Display
Gallery walls work because they turn quantity into composition. The key is visual rhythm, repeating frame colors, mat styles, or photo orientations to create cohesion even when the images vary.
Start by choosing a frame color family: all black, all natural wood, or a mix of metallics (brass and black pair well). Mixing frame styles is fine, but stick to one or two finishes to avoid chaos. Use consistent mat widths, 2-inch white mats are a safe default that work with most frame sizes.
Lay out the arrangement on the floor first. Cut kraft paper templates to match each frame’s outer dimensions, tape them to the wall, and adjust until the spacing feels balanced. Aim for 2 to 3 inches between frames, closer spacing creates a modern, grid-like feel: wider spacing feels more relaxed. Many DIYers find creative layout inspiration helpful when planning complex gallery walls.
For hanging, establish a center line at 57 to 60 inches from the floor (standard gallery height). This keeps the visual center of the grouping at average eye level. Measure from this line to position the top and bottom rows, then fill in the middle.
Statement Pieces: Large Canvas Prints and Custom Art
Single large-format pieces simplify the process: one item, one decision, one nail. Canvas prints (30×40 inches or larger) make a strong impact without the weight of framed glass. Look for 1.5-inch stretcher bars for a gallery-wrap look that doesn’t need a frame.
Custom family portraits, whether painted, illustrated, or digitally composited, offer a contemporary alternative to traditional photos. These work especially well in formal spaces like dining rooms or above mantels. Expect to pay $200 to $800 depending on size and artist, and allow 4 to 6 weeks for completion.
For mounting, use D-rings screwed into the stretcher bar (not sawtooth hangers, which can’t handle the weight). If the canvas exceeds 20 pounds, mount it to studs with wood screws and wall anchors as backup. Check the canvas level with a 4-foot spirit level, large pieces magnify even minor tilt.
DIY Family Wall Decor Projects for Every Skill Level
Beginner: Painted Name Boards
Rip a 1×6 pine board (actual dimensions: 3/4″ × 5.5″) to desired length using a circular saw. Sand with 120-grit sandpaper, wipe clean, and apply two coats of latex paint or wood stain. Once dry, use vinyl letter stickers as a mask and paint over them in a contrasting color, or hand-paint names with a fine brush and acrylic craft paint. Seal with matte polyurethane spray. Attach sawtooth hangers on the back.
Intermediate: Rustic Photo Ladder
Source a 6-foot wooden ladder (old or new) and clean it thoroughly. Sand any rough edges and apply a clear satin varnish or leave it raw for a weathered look. Lean the ladder against the wall at a 70 to 75-degree angle and secure the top with L-brackets screwed into a stud to prevent tipping, critical if you have kids or pets. Clip photos to the rungs using mini clothespins or binder clips. This project takes about 2 hours and requires only a drill, sandpaper, and basic hardware.
Advanced: Floating Frame Shelf
Build a shallow shelf from 1×4 pine or poplar for the shelf surface and 1×2 for the lip. Cut the shelf to desired width (48 to 60 inches is common), attach the lip along the front edge with wood glue and 1.25-inch brad nails, then mount to the wall using a French cleat for clean, flush installation. The cleat, two beveled strips, one on the wall and one on the shelf back, distributes weight evenly and makes leveling easier. Paint or stain to match trim. This project suits confident DIYers comfortable with a miter saw and requires attention to levelness during installation. Furniture makeover techniques can provide additional finishing ideas for custom built pieces.
How to Arrange and Hang Your Family Wall Decor Like a Pro
Step 1: Measure and Mark
Use a pencil and painter’s tape to mark the outer boundaries of your display. Measure the total width and height, then mark the center point. For single pieces, measure from the center of the frame’s hanging hardware to the top edge, subtract that distance from your desired height, and mark the wall.
Step 2: Locate Studs or Use Appropriate Anchors
Run a stud finder horizontally across the marked area. If a stud aligns with your mark, use a 2.5-inch wood screw driven at least 1.5 inches into the stud. If not, install a self-drilling drywall anchor rated for the frame’s weight plus 50% safety margin. Toggle bolts are best for items over 30 pounds.
Step 3: Hang from the Center Out
For gallery walls, hang the center or largest piece first, then work outward. This prevents cumulative spacing errors. Use a laser level if you’re hanging multiple frames in a row, it’s faster and more accurate than a bubble level for alignment across distance. Many modern interior layouts emphasize symmetry and balance when arranging multiple pieces.
Step 4: Adjust and Level
Step back every few pieces to check overall balance. Small adjustments, shifting a frame an inch left or raising one slightly, can dramatically improve the composition. Don’t be afraid to leave a nail hole and move something: spackle and touch-up paint are cheap fixes.
Safety note: Wear safety glasses when drilling into walls, especially overhead, to protect against falling drywall dust and debris. If you’re working above furniture, move it or cover it with a drop cloth.