
Table of Contents
ToggleWhen a Frigidaire ice maker stops working, it’s more than an inconvenience, it’s a daily reminder that something’s off in the kitchen. Whether cubes aren’t forming, production has slowed to a trickle, or the unit produces hollow, malformed ice, most issues can be traced to a handful of common culprits. The good news? Many Frigidaire ice maker problems don’t require a service call. With a basic understanding of how the system works and a few straightforward troubleshooting steps, homeowners can restore ice production and keep their machines running efficiently for years. This guide covers the mechanics, common failures, replacement procedures, and preventive maintenance every Frigidaire owner should know.
Key Takeaways
- Most Frigidaire refrigerator ice maker problems stem from water supply issues, jammed shut-off arms, or failed components, and many can be fixed without professional service.
- A Frigidaire ice maker completes its freeze-harvest-refill cycle in 90 minutes to 2 hours, and understanding this process helps homeowners quickly identify where failures occur.
- Hollow or undersized cubes typically result from low water pressure, a clogged fill valve screen, or freezer temperatures above 0°F, all addressable with basic troubleshooting.
- Replacing a modular Frigidaire ice maker (IM116 or IM117) takes 30–45 minutes and requires only a screwdriver, pliers, and the correct replacement module for your model.
- Routine maintenance including 6-month water filter replacements, quarterly ice bin cleaning, and annual fill tube inspections prevents the majority of ice maker failures and extends unit lifespan.
- Check your water line pressure by collecting at least 10 ounces of water in 10 seconds; anything less indicates a pressure or filter issue that prevents proper ice maker operation.
How Frigidaire Ice Makers Work
Frigidaire ice makers use a modular design built around a motorized module, water fill system, and ejector mechanism. Understanding the cycle helps pinpoint failures faster.
When the thermostat (embedded in the mold) senses that ice has frozen to approximately 5–9°F, it signals the motor to begin the harvest cycle. The motor drives a set of cam gears that rotate the ejector blades, lifting cubes out of the mold. Simultaneously, the shut-off arm rises: if it encounters resistance from a full ice bin, the cycle stops. If the bin has space, the arm drops back down and a fill valve opens for 6–8 seconds, releasing roughly 4–5 ounces of water into the mold.
The entire process, freeze, harvest, refill, takes 90 minutes to 2 hours under normal conditions, assuming a freezer temperature of 0°F and adequate water pressure (20–120 psi). If any component in this loop fails, fill valve, thermostat, motor module, or shut-off arm, ice production halts or becomes erratic.
Most Frigidaire models built after 2015 use the IM116 or IM117 modular ice maker, which features a quick-connect harness and mounting bracket that simplifies replacement. Older units may use the IM104 or IM115, which have slightly different fill timing and motor specs but follow the same operational logic.
Common Frigidaire Ice Maker Problems and Quick Fixes
Ice Maker Not Producing Ice
This is the most frequent complaint and typically stems from water supply issues, a jammed shut-off arm, or a failed component.
Check water supply first. Confirm the refrigerator’s water line is turned on and that the ¼-inch supply line isn’t kinked behind the unit. Low household water pressure (below 20 psi) will prevent the fill valve from opening. Disconnect the line at the fridge and run water into a bucket for 10 seconds, you should collect at least 10 ounces. If flow is weak, inspect the saddle valve (if used) or replace the inline water filter: most Frigidaire filters clog after 6 months and reduce pressure significantly.
Verify the shut-off arm isn’t stuck. Gently push it down: it should move freely and click. If it’s frozen in the up position, the ice maker thinks the bin is full. Thaw any ice buildup around the arm with a hairdryer, then cycle the unit manually by pressing and holding the test button (usually a small button or switch on the module) for 3 seconds. You should hear the motor hum and see the ejector rotate.
Test the fill valve. With the fridge running, press the water dispenser on the door for 10 seconds. If water flows, the valve works. If not, the solenoid coil may be faulty. Replacing the valve requires unplugging the fridge, shutting off the water, and disconnecting the wiring harness, if you’re uncomfortable with electrical connectors, call a tech.
Inspect the thermostat and module. If the unit won’t cycle even after manual activation, the thermostat or motor module has likely failed. Replacement is the standard fix: repair of the module itself isn’t cost-effective.
Ice Cubes Are Too Small or Hollow
Hollow or undersized cubes indicate insufficient water fill, usually caused by low pressure or a partially clogged fill valve screen.
Check the fill valve screen. Located where the water line connects to the valve, this fine mesh screen traps sediment. Turn off the water, disconnect the line, and remove the screen with needle-nose pliers. Rinse it under tap water. If it’s clogged with mineral buildup, soak it in white vinegar for 15 minutes, then reinstall.
Adjust fill time (advanced). Some modular ice makers allow fill-time adjustment via a small screw on the module. Turning it clockwise increases water volume slightly. Make ¼-turn adjustments and monitor results over 24 hours. Over-filling causes cubes to bridge and jam.
Verify freezer temperature. If the freezer is warmer than 0°F, ice won’t freeze solid before the ejector cycle starts, resulting in thin or hollow cubes. Use an appliance thermometer to confirm. Adjust the freezer control or check the door gasket for air leaks.
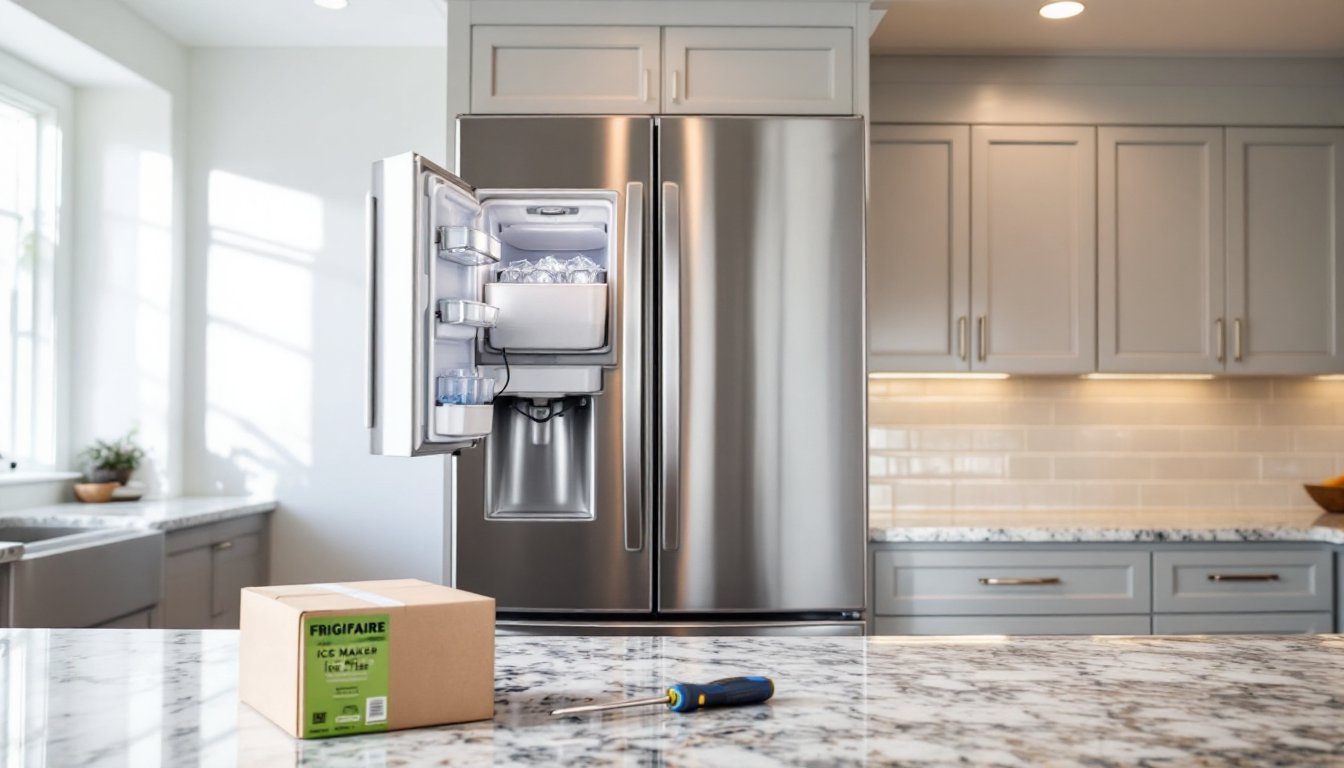
Step-by-Step Guide to Replacing Your Frigidaire Ice Maker
Replacing a failed Frigidaire ice maker takes 30–45 minutes and requires minimal tools. Always verify the replacement module matches your model number (printed on a label inside the fridge or on the back panel).
Tools and materials:
- Phillips screwdriver
- Flat-head screwdriver
- Needle-nose pliers
- Replacement ice maker module (IM116, IM117, or model-specific equivalent)
- Work gloves and safety glasses
Step 1: Disconnect power. Unplug the refrigerator or switch off the circuit breaker. Ice makers operate at 120V AC, and the fill valve can energize unexpectedly during removal.
Step 2: Remove the ice bin. Lift the bin out and set it aside. You’ll see the ice maker mounted to the left freezer wall, typically held by two screws at the top of the mounting bracket.
Step 3: Disconnect the wiring harness. Pull the white plastic harness connector straight out. Don’t tug on the wires, squeeze the locking tab and pull the connector body. Note the orientation for reinstallation.
Step 4: Unscrew the mounting bracket. Remove the two Phillips screws securing the module to the wall. The entire assembly will slide forward and down. Be gentle, the fill tube (a thin plastic or metal tube at the rear) can break if forced.
Step 5: Detach the fill tube. Depending on your model, the fill tube either slides into a grommet or is held by a small clamp. Gently wiggle it free. If it’s frozen in place, use a hairdryer on low heat for 20 seconds.
Step 6: Install the new module. Reverse the removal process. Slide the fill tube into the grommet on the new unit, align the mounting bracket with the screw holes, and tighten the screws snugly, don’t overtighten, as the plastic housing can crack. Reconnect the harness until it clicks.
Step 7: Restore power and test. Plug the fridge back in. Press and hold the test button on the new module for 3 seconds. The ejector should rotate, the shut-off arm should lift and drop, and you should hear water fill the mold for 6–8 seconds. If nothing happens, verify the harness connection and check that the freezer is cold enough to trigger the thermostat.
First batch disposal: The first cycle often produces cloudy or off-tasting cubes due to manufacturing residue in the mold. Discard the first two batches.
For more complex appliance repairs and detailed DIY repair tutorials, it’s worth consulting model-specific diagrams, especially if you’re working on an older Frigidaire with non-modular components.
Maintaining Your Frigidaire Ice Maker for Optimal Performance
Routine maintenance prevents the majority of ice maker failures and extends unit lifespan well beyond the typical 5–7 years.
Clean the ice bin every 3 months. Wash it with warm water and mild dish soap, rinse thoroughly, and dry completely before reinstalling. Ice bin residue can harbor mold and impart off-flavors.
Replace the water filter on schedule. Frigidaire recommends filter replacement every 6 months (or 200 gallons, whichever comes first). A clogged filter reduces water pressure and fill volume, leading to small cubes and longer cycle times. Mark the installation date on the filter with a marker.
Inspect and clean the fill tube annually. Mineral deposits can narrow the fill tube opening, reducing flow. With the unit unplugged and the ice maker removed, soak the fill tube in a 50/50 vinegar-water solution for 30 minutes, then flush with clean water. If buildup is severe, replace the tube, most measure ¼ inch outer diameter and are available through appliance parts suppliers.
Keep the freezer at 0°F. Higher temps slow ice formation and stress the compressor. Use an appliance thermometer to verify. If the freezer runs warm, check the condenser coils (located at the back or beneath the fridge) for dust buildup. Vacuum them every 6 months to maintain airflow.
Avoid overfilling the ice bin. When cubes pile too high, they can jam the shut-off arm or block the ejector blades. If you need more storage, consider a secondary countertop ice maker rather than forcing the built-in unit to overperform.
Check door seals. A leaking gasket allows warm, humid air into the freezer, which condenses on the ice maker and causes freeze-ups. Close the door on a dollar bill: if it slides out easily, the seal is weak. Replacing a door gasket is a straightforward DIY task that improves efficiency across the entire appliance.
For broader kitchen organization and appliance care strategies, integrating these checks into a seasonal home maintenance routine keeps multiple systems running smoothly.
Conclusion
Most Frigidaire ice maker issues boil down to water supply, temperature, or a worn module, all fixable without a service call. By understanding the freeze-harvest-refill cycle and keeping up with filter changes and basic cleaning, homeowners can avoid the majority of failures and enjoy reliable ice production for years. When replacement is necessary, the modular design makes it a manageable DIY project for anyone comfortable with a screwdriver and a wiring harness.